
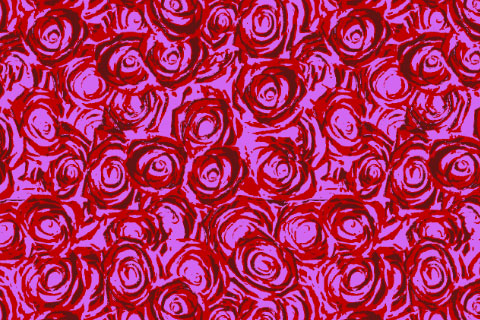
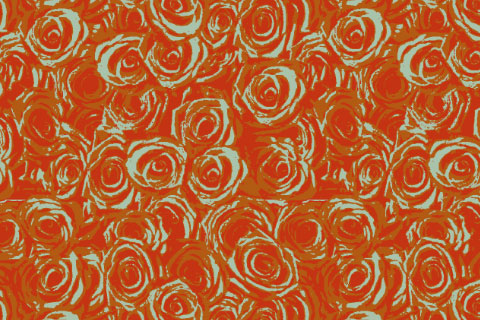
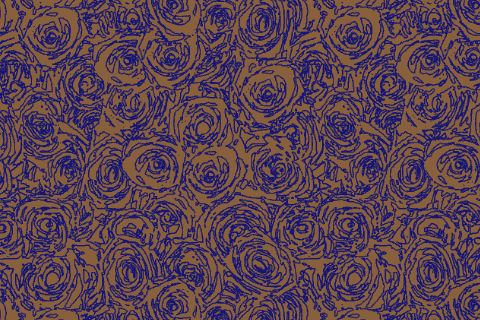


Mouse over or tap to see the results of the color reduction.
(The cursor will disappear on desktop and laptop computers.)
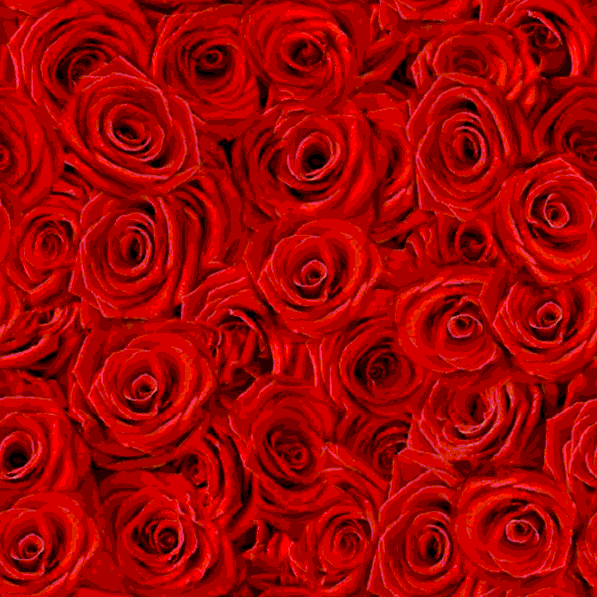
The difference between the reduction from 24 colors to 12 is barely perceptible. If manufactured now, our print would cost significantly less than printing the 24 colors we started with. This is what is meant by maintaining image integrity!
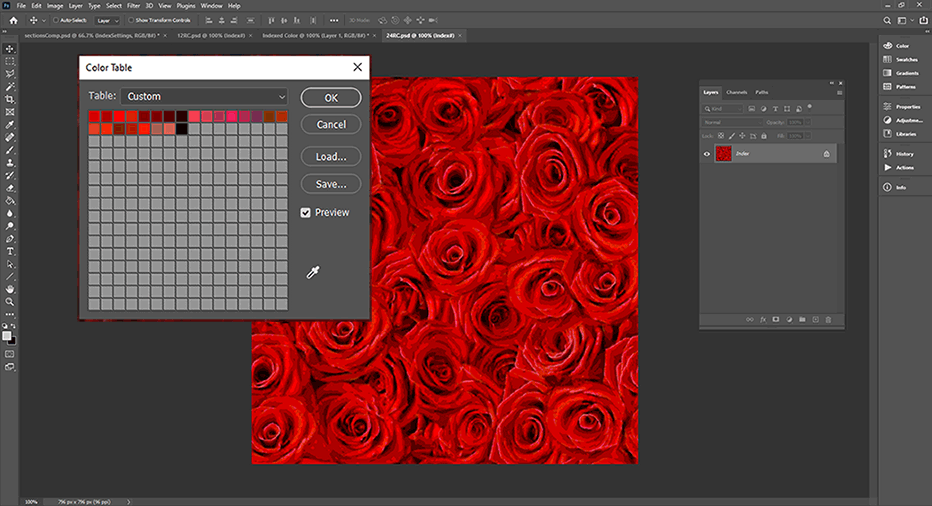
So in section number 4 of the color reduction section we will be taking the image from 24 colors to 12 colors. The path of action we will follow to do this will preserve the integrity of the image quite well. This of course means that it will still look a great deal like the original image, as it should!
As we have been saying, color reduction is an iterative process. This section moves away from using Photoshop's presets and places the choosing of each color into the designer's hands. In the brief video below, we will see how these color decisions are made;
This is a very quick section! It should only take us about 5 minutes, tops!
The next section, Section 5 will guide us through the next series of steps. We will be taking the number of colors in our rose pattern from 12 down to 6 colors.