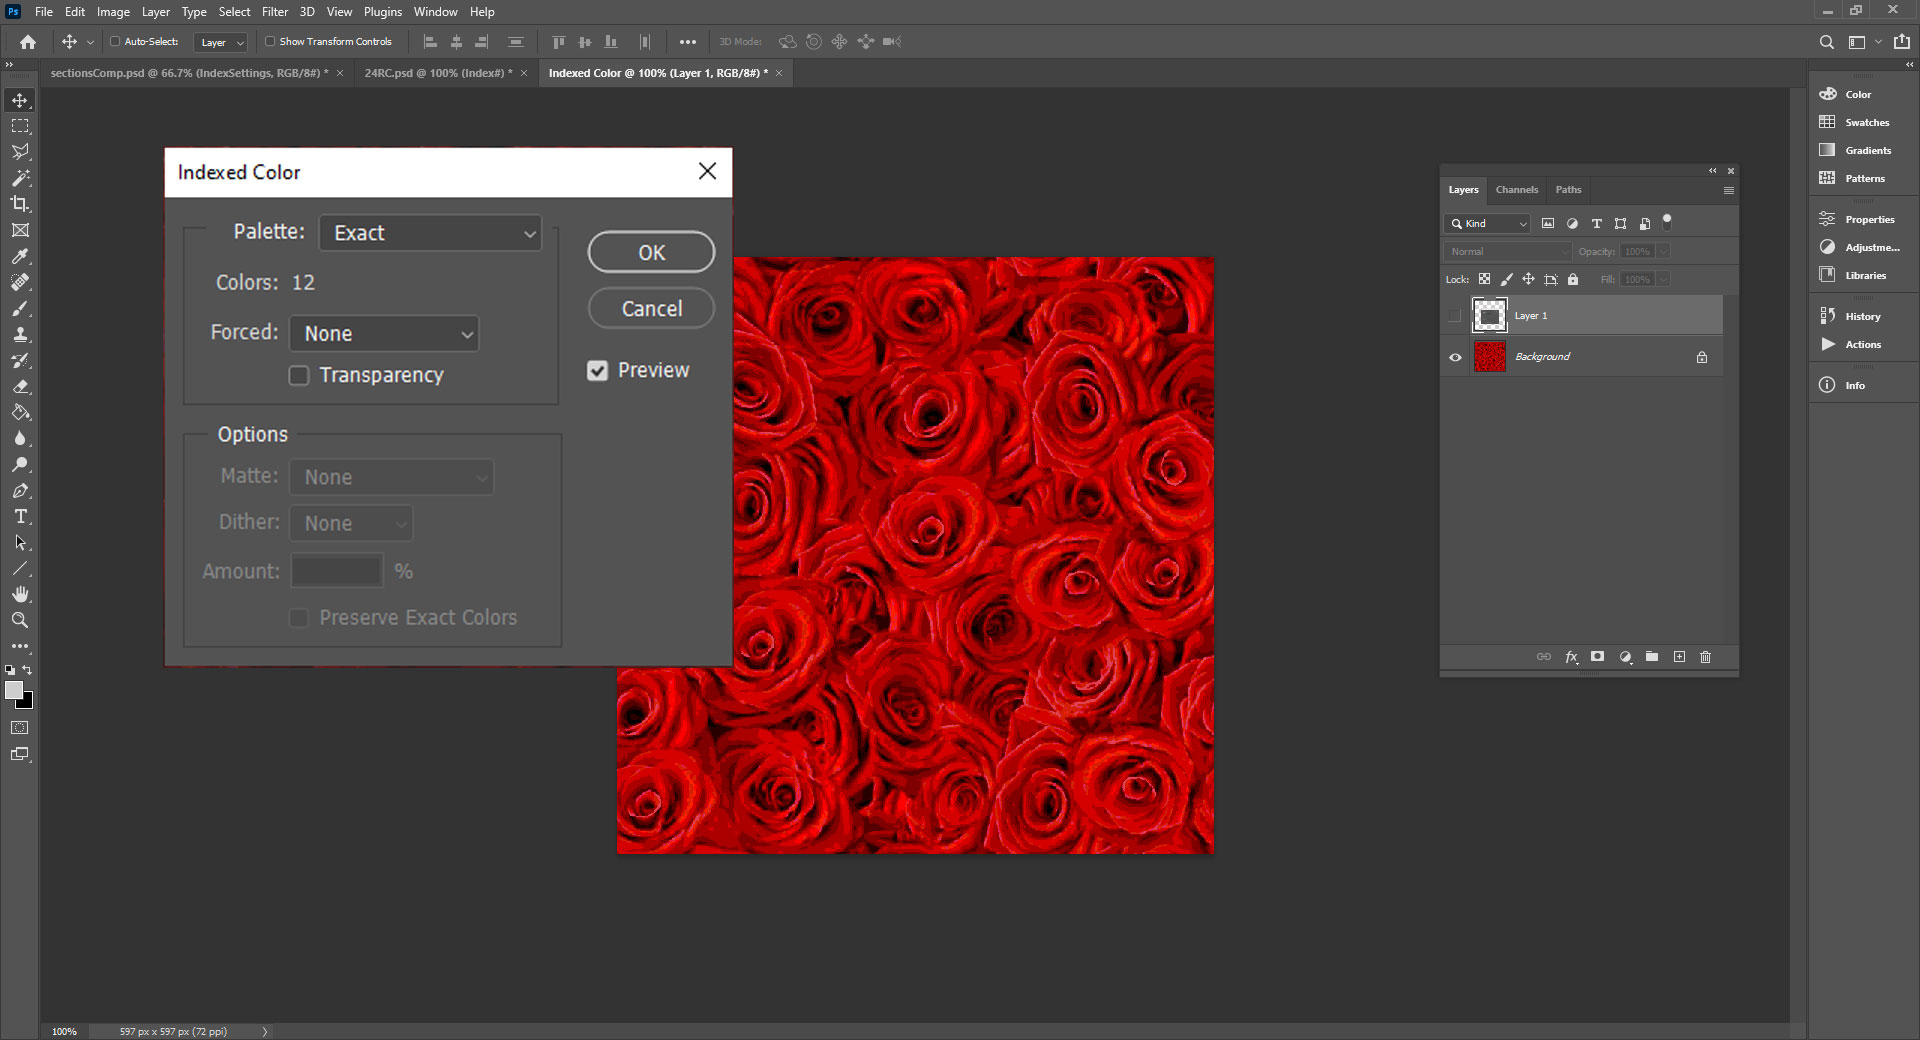


Mouse over or tap to see the results of the color reduction.
(The cursor will disappear on desktop and laptop computers.)

The reduction from millions of colors to 24 is very contrasting. When we place our cursor over the image above or tap using a hand held device, we see the change from left to right.
At this point if we have not downloaded the rosepattern-start.psd file, we will need to do that before moving forward with this lesson.
Click here to download the rosepattern-start.psd file

Section three of the color reduction section will show us the first reduction. We will be taking the image from millions of colors to 256 and from there down to 24 colors. The path of action we will follow to do this will preserve the integrity of the image quite well. This of course means that it will still look a great deal like the original image, as it should!
In the 3 1/2 minute video below, we will go through these steps together. It takes about 5 minutes to complete this section.
As we have been saying, color reduction is an iterative process. This section will be primarily using Photoshop's presets to accomplish the first reduction. The next section, Section 4 will guide us through the next sequential color reduction.