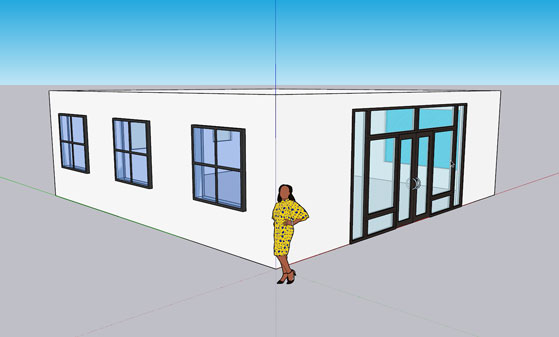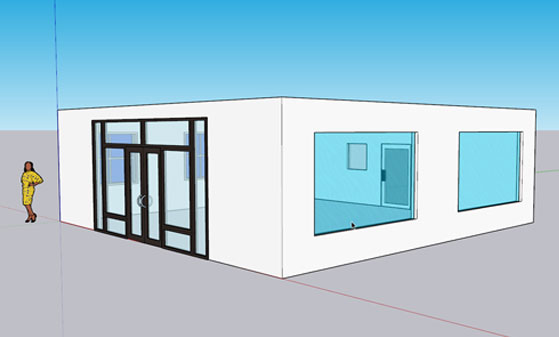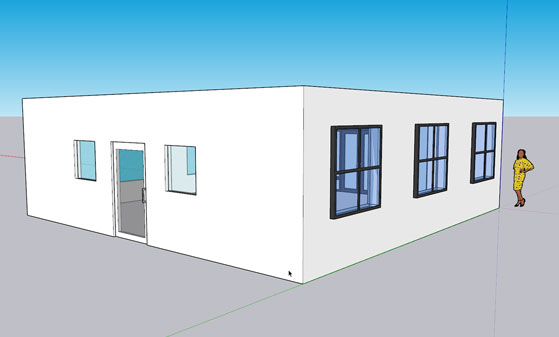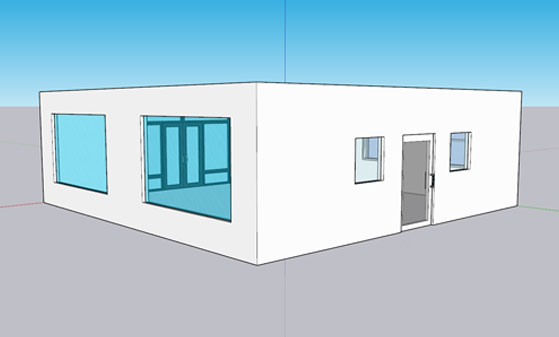


Phase 1


The images above represent phase 1 completed.
In this first phase of the 3D floor plan we are going to start with our perimeter walls. We will extrude them to 10' and then install our windows and doors. The video instructions below will guide us through the process to completion.
In this phase of our model, we will create some very basic windows. We will also add a glass "material" to those windows so that they has an appearance of actual glass.
WI this phase, we will learn how to bring in a model from the SketchUp Pro 3D warehouse. This will come in as a "component". We will learn to work with components in this video too.
In this section we will work with one more component. There is an especially good reason for us to do this! A critical technique for accomplishing this is demonstrated in this video.
In this video we will perform the last steps of this phase. This "phase" of our project has been broken into 5 phases, this being the final one. We will draw the floor that we are currently missing and then we will see how to "hide" objects and geometry. That will prep us for next week when we start populating that 3d space with products and displays.
Thank you for your EXCELLENT work!!!